Hearing that soft peeping sound and seeing those fluffy white feathers, there’s nothing like seeing a new chick break out of its shell. Whether you’re a farmer, a rancher, or have a small backyard flock, incubating eggs is a truly rewarding experience. It’s a hands-on way to expand your brood and enjoy the wonder of nature.
At Thomas Moore Feed, we understand that raising healthy birds starts before the first chirp. With the right knowledge, patience, and care, you can successfully turn a clutch of eggs into a thriving flock. From proper temperature to balanced nutrition, this guide covers everything you need to know to make sure your eggs become healthy, vibrant chicks.
What is Egg Incubation?
To raise healthy chicks, you first need to understand egg incubation. Incubation refers to the process of holding fertilized eggs in specific conditions to ensure they develop properly and hatch into chicks. In nature, the mama hens do all the work, but breeders need to replicate the conditions hens create.
When it comes to egg incubation, there are several factors that need to be managed, such as:
- Temperature: Eggs should be held at about 99.5°F (37.5°C).
- Humidity: Relative humidity should be between 45 and 55% for the first 18 days after fertilization and be increased to 65 to 75% just before hatching.
- Turning: Place an “X” on one side of each egg and turn 3 to 5 times a day for the first 18 days.
Maintaining consistency is vital for proper development. Even minor changes in the environment can impact the health of your birds, so be sure to stay on top of your incubator and adjust as needed.
Selection and Storage
Not every egg is suitable for incubation. To boost your hatch rate, keep the following tips in mind:
- Quality matters: Source fertilized eggs from healthy, well-fed hens and roosters.
- Carefully inspect: Pass on eggs that are cracked, misshapen, or dirty.
- Smart storage: Store eggs at about 55°F (12°C), pointed end down, and incubate within 7 days of being laid.
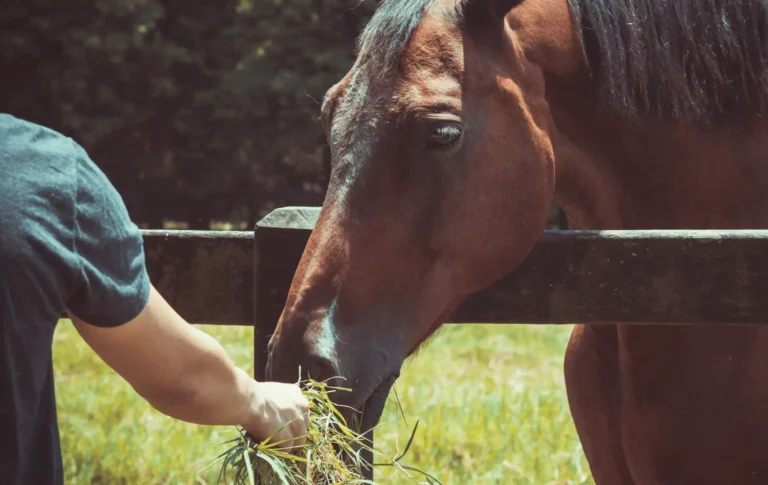
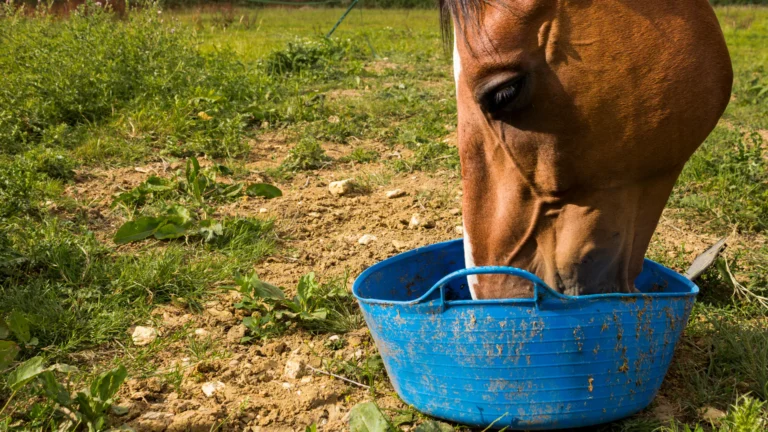
It’s important to remember that the health of your flock is just as important as the incubator settings. Hens that are fed premium-quality poultry feed produce healthier eggs. At Thomas Moore Feed, our feed contains the proper balance of protein, vitamins, and minerals, supporting healthy chicks from the start.
Setting Up Your Incubator
Once you’ve selected strong, healthy, fertilized eggs, you’re ready to set up your incubator. To stabilize the temperature and humidity, run the incubator for 24 hours before setting the eggs. Also, make sure it’s in a quiet, draft-free area that isn’t in direct sunlight. Use the following checklist to ensure your incubator is ready to receive eggs:
- Calibrate: Make sure the thermometer and hygrometer are properly calibrated.
- Water: Fill the water channels with fresh, clean water to maintain proper moisture.
- Position: Carefully place your eggs so they’re either flat or with the pointed end down.
- Consistency: Maintaining consistent conditions throughout the incubation period is essential.
The first few days of incubation are crucial. Even minor dips or spikes in temperature or humidity can negatively impact the eggs.
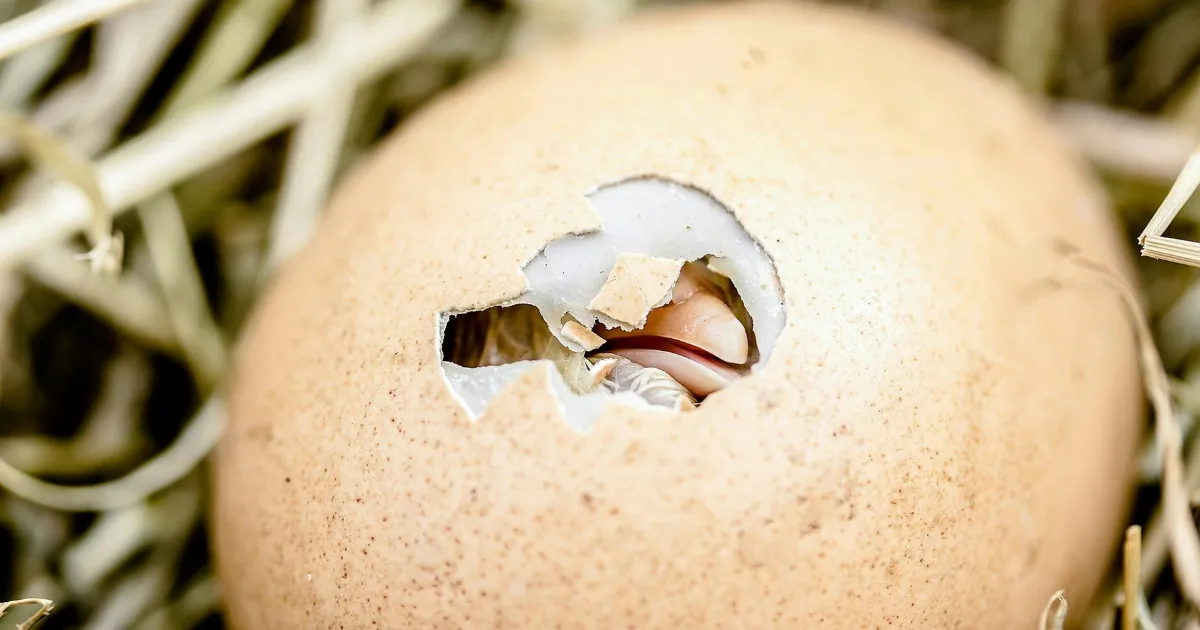
Preparing for Hatch Day
The length of time it will take to reach hatch day depends on the type of eggs you’re incubating. On average, chicken eggs hatch in about 21 days while turkey and duck eggs are ready to hatch in about 28 days. It can take anywhere from 16 to 24 days for quail eggs to hatch. No matter the species, three days before hatching, you’ll enter “lockdown” stage, the period where you’ll get the eggs ready for hatching. To prepare, stop turning the eggs and increase the humidity levels. During this stage:
- Do not disturb: Only open the incubator if it’s absolutely necessary.
- Keep watch: Keep an eye out for tiny cracks in the shells as the chicks start breaking out.
- Dry and fluff: Once they’re hatched, keep the chicks in the incubator so they can dry and fluff up before moving them to a warm brooder.
After weeks of care and patience, there’s nothing better than hearing those sweet little peeps — a sound that confirms your efforts were totally worthwhile.
Supporting Your Chicks with Proper Nutrition
Hatching is just the start of a chick’s journey. To keep your new brood healthy and strong, you’ll want to offer them premium, nutrient-rich starter feed. At Thomas Moore Feed, we offer properly balanced poultry feed designed to support the entire process, from strong shells to feather development.
Our feed is distributed by trusted dealers throughout Texas. Just stop by your local feed store and ask for our feed by name.
Ready to Start Hatching Your Way to Success?
Incubating eggs is an exciting, rewarding process. Patience, care, and balanced nutrition are the ingredients you’ll need to transform your eggs into a healthy flock.
From egg to chick, Thomas Moore Feed is proud to support farmers, ranchers, and backyard fowl keepers throughout Texas on their journey to raising thriving birds. Ready to start hatching? Find your nearest Thomas Moore Feed dealer today and set yourself up for success!